FYI
You all are in for a treat because miss Hattie graciously agreed to share this nifty little tutorial with all of us! Woot! It takes a little bit of "kadoodleing"....but I watched and photographed....and think I could make one myself ......:)
Instructions:
Step 1: Cut 4 long strips about 1/2 inches wide ea. from the fabric of your choice. You may cut more strips if you feel so inclined but it may get difficult to weave through the knob hole.
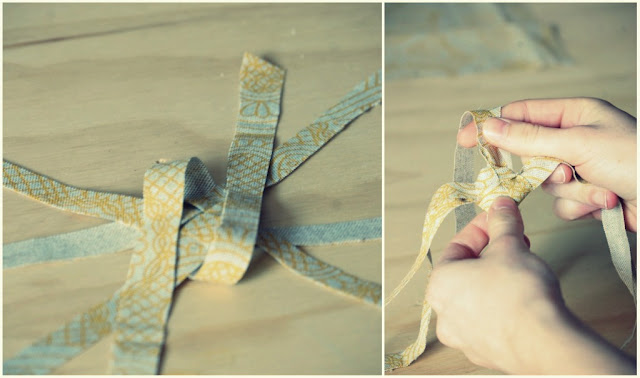
Step 2: Weave the pieces over and under each other so that they lay down like a # sign
Step 3: Take the two opposite strips and fold them diagonally across the woven center area.
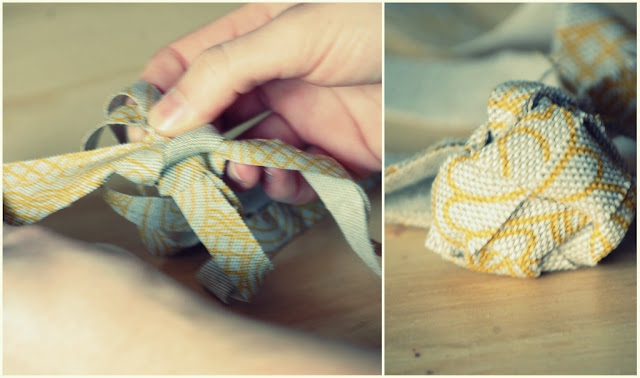
Step 4: Take two of the crossed over strips {one from each side of the woven area} and tuck one through the formed loop of the diagonal strip, passing over the free diagonal strip. Do the same with the other side. This forms a box knot.
Step 5: Repeat step four with the other four cloth strips.
Step 6: Tighten and begin randomly knotting the remaining strips until you achieve a desired shape and size.
Step 7: Pull the dangling tassle-like cloth strips through the knob hole {this is where you might want to use the nail for help, and if you need to make your hole a little bit bigger you can. Just make sure you don't make it too big!}
Step 8: Tie the strips in a knot on the inside of the drawer to secure the knob. Make sure the knot is big enough to keep from pulling back through.
Ta da!!
xo,
Barb & Hattie


